Teardrop Camper Maintenance Australia: 2026 Care Guide
Bearings, seals, canvas, brakes and 12V: what to check, how often, and what it costs to ignore.
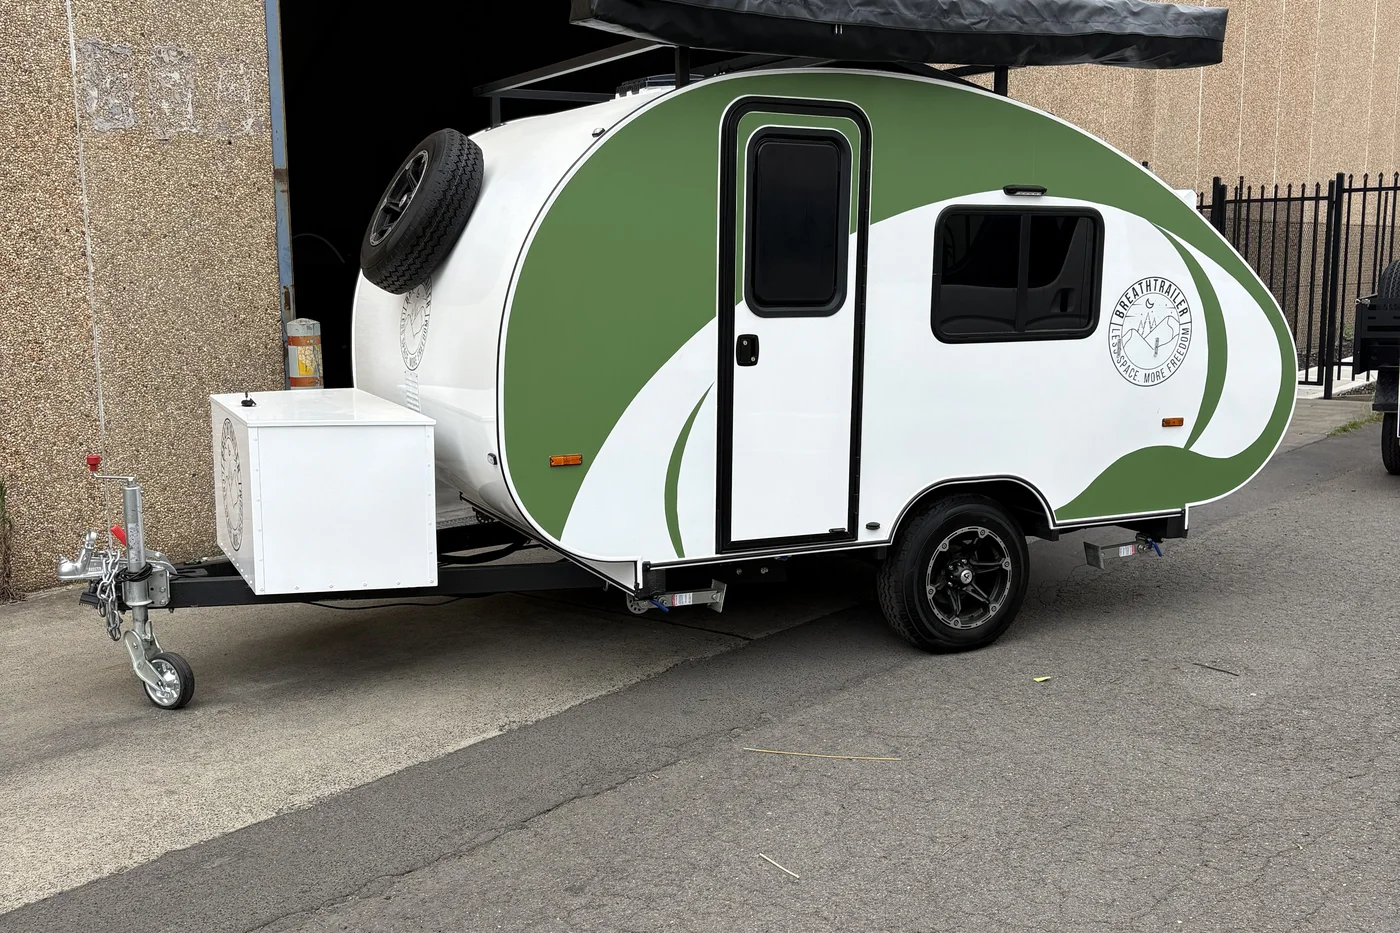
A well-built teardrop camper should last 15 to 20+ years — but only if you look after it. The good news for Australian owners is that a teardrop is the easiest type of recreational vehicle to maintain: there’s no slide-out mechanism, no large canvas tent to mould, no complex plumbing, and on a hard-shell model, no annual re-sealing of canvas seams.
The bad news? Australia is hard on trailers. Coastal salt air, corrugated outback tracks, UV that fades paint twice as fast as Europe, and a wheel-bearing failure rate that climbs sharply within a few kilometres of the surf. Most teardrop problems Australians actually experience — seized bearings on the Big Lap, a flat house battery after winter storage, a musty water tank — are preventable in under two hours a year.
This guide gives you the complete maintenance schedule for a teardrop camper in Australia in 2026: what to check, how often, what it costs, and where coastal owners need to do more than the manual says. Most of it you can do yourself in the driveway with a hose, a grease gun and a multimeter.
Why teardrop maintenance is different (and easier) in Australia
A teardrop camper has a tiny maintenance footprint compared with a caravan or a folding camper trailer. There’s no roll-out awning motor, no slide topper, no full bathroom plumbing on most models, and — critically — on a hard-shell teardrop there is no canvas to re-proof, no poles to replace, and no tent to dry out before storage. That single difference removes the most common maintenance failure in the Australian camper-trailer market: mould and rot in canvas.
If you’re weighing a hard-shell against a soft-floor or forward-fold model, the long-term care gap is one of the biggest hidden costs — we break it down in our teardrop camper vs camper trailer comparison.
What you’re left maintaining on a teardrop is essentially:
- The chassis and body — wash, inspect, protect from corrosion.
- The running gear — wheel bearings, tyres, brakes, suspension.
- The 12V system — battery, solar, wiring.
- The water system — tank, pump, taps (and bathroom on a Breath Max).
- Seals, hinges and latches — galley, doors, hatches.
A quality build reduces even this. Breath Trailer campers use a hot-dip galvanised steel chassis and a one-piece composite hard shell precisely because galvanising and sealed bodywork are what survive the Australian coast. Cheaper painted-steel frames are where rust starts.
Your teardrop camper maintenance schedule at a glance
Here’s the full schedule. Adjust frequency up if you tow on dirt, camp near the coast, or do extended trips — and down if you do occasional sealed-road weekends in a mild climate.
| Task | Before every trip | Every 3 months | Every 6 months | Every 12 months |
|---|---|---|---|---|
| Tyre pressure & tread (incl. spare) | ✅ | |||
| Wheel nuts torqued | ✅ | |||
| Lights, indicators, brakes test | ✅ | |||
| Coupling, safety chains, jockey wheel | ✅ | |||
| Battery charge level | ✅ | ✅ | ||
| Exterior wash (fresh water rinse) | after coastal/dirt | ✅ | ||
| Door, hatch & galley seals inspect | ✅ | |||
| Wheel bearing inspect | ✅ (coastal) | ✅ (inland) | ||
| Wheel bearing repack/replace | ✅ (coastal) | ✅ (inland) | ||
| Brake adjustment & magnet check | ✅ | |||
| Water tank sanitise & flush | ✅–12mo | |||
| Suspension & shackle bolts | ✅ | |||
| Sealant/silicone inspect & refresh | ✅ (refresh every 2–3 yr) | |||
| Full underbody corrosion check | ✅ |
A genuine rule of thumb from the manufacturers: check in on your camper at least every six months, and more often if it lives outside or travels hard.
Exterior and hard-shell body care
Washing
Wash the body with warm water, a mild automotive soap and a soft microfibre cloth or sponge. Avoid harsh solvents, abrasive pads and high-pressure jets aimed directly at seals — they strip wax and force water past silicone. After any beach trip or dusty corrugated track, give the whole camper (including the underbody and wheels) a fresh-water rinse the same day. Salt left to dry is what kills chassis, bearings and electrical connectors.
A coat of automotive polish or a ceramic-style protectant twice a year keeps UV from chalking the finish — Australian sun is brutal on gelcoat and paint.
Corrosion: the coastal owner’s #1 job
Salt is the enemy. If you camp or store within a few kilometres of the ocean, treat corrosion control as your most important maintenance task:
- Rinse underbody and chassis with fresh water after every coastal trip.
- Inspect the chassis, drawbar and welds for surface rust every 6 months; touch up any chips immediately.
- Spray a corrosion-inhibiting film (lanolin-based, e.g. Lanotec or Fish Oil) on exposed bolts, the coupling, shackle pins and electrical terminals annually.
- Keep drain holes clear so water never pools inside the chassis rails.
This is exactly why a galvanised chassis matters for off-road and coastal use — galvanising self-protects scratches that painted steel can’t.
Wheel bearings, tyres and brakes: the safety trio
This is the maintenance that keeps you safe at 100 km/h, and the one most owners neglect until a hub seizes on the highway.
Wheel bearings
Most axle and trailer manufacturers recommend a full bearing repack every 12 months or roughly 20,000 km, whichever comes first. But that interval assumes sealed-road, inland use. In Australian conditions:
| Use case | Inspect | Repack / replace |
|---|---|---|
| Sealed road, inland, occasional | 12 months | 12 months / 20,000 km |
| Frequent touring | 6 months | 12 months |
| Coastal / saltwater launches | 3 months | 6 months |
| Outback corrugations / water crossings | after each big trip | 6 months |
Use a quality NLGI No. 2 lithium-complex, high-temperature wheel-bearing grease with EP and corrosion inhibitors. The warning signs of a failing bearing are a grinding or humming noise that changes with speed, a wheel that feels hot to touch after driving, or play when you rock the wheel top-to-bottom. Milky or grey grease means water has got in — repack immediately.
Tyres
Check pressures (including the spare) before every trip — under-inflation causes blowouts and over-inflation ruins handling. Inspect tread and sidewalls for cracking; trailer tyres often “age out” before they wear out, so replace tyres older than 5–7 years regardless of tread, because UV-perished rubber fails without warning. Camper tyre load and weight ratings matter — see our teardrop camper weight guide for matching tyres to your ATM.
Brakes
Most teardrops over 750 kg ATM run electric drum brakes. Before every trip, confirm the brake controller produces noticeable drag. Have the brakes inspected and adjusted every 6 months or 10,000 km — check magnet wear, shoe lining and that the breakaway switch and its battery work. Any camper over 2,000 kg ATM legally requires brakes that auto-apply on breakaway, but well under that, a working breakaway system is still smart insurance.
12V electrical, battery and solar care
Your house battery is the component most often killed by neglect — usually during storage, not on the road.
| Battery type | Don’t discharge below | Storage charge | Trickle charge in storage? | Maintenance |
|---|---|---|---|---|
| AGM (sealed lead-acid) | 50% | Keep fully charged | Yes — strongly recommended | Clean terminals, corrosion check |
| Lithium (LiFePO₄) | 10–20% | ~50–60%, not 100% | No (BMS handles it) | Virtually none; store warm & dry |
AGM batteries hate sitting flat — a discharged AGM sulphates and loses capacity permanently, so keep one on a trickle/maintenance charger between trips. Lithium (LiFePO₄) is the low-maintenance choice: the built-in BMS protects it, you can safely use 90%+ of capacity, but avoid storing it at 100% for months — around half charge is ideal for a long lay-up.
For both: keep terminals clean and tight, check that the battery enclosure stays sealed against road splash, and inspect solar connections (MPPT controller, panel leads, Anderson plugs) for corrosion twice a year. If you’ve upgraded to a serious off-grid setup, our off-grid teardrop camper guide covers sizing and care of solar and lithium systems in detail.
Water system: tanks, pumps and sanitising
Fresh-water tanks grow biofilm and bacteria over time, especially in warm Australian summers. Sanitise the tank and lines every 6 to 12 months, or sooner if the water tastes or smells off.
The simple, food-safe method:
- Drain the tank completely.
- Add a mild bleach solution — the standard guidance is roughly 125 mL of unscented household bleach per 1,000 L of water (so about 12 mL per 100 L), topped up with fresh water.
- Run every tap and the shower until you smell the solution coming through, then leave it to stand for a few hours.
- Drain fully and flush two or three times with clean water until there’s no bleach smell.
Between trips, drain the tank and lines so water never sits stagnant. Check the 12V water pump for leaks and listen for it cycling on and off when taps are closed (a sign of an air leak or loose fitting). On bathroom models like the Breath Max, also flush the grey-water outlet and check the toilet seals.
Seals, hinges, latches and the galley
The galley hatch, doors and storage hatches are where water gets in if seals fail.
- Inspect rubber seals every 3 months; clean them and treat with a silicone or rubber conditioner so they stay supple (a dried, cracked seal is the start of a leak).
- Lubricate hinges, gas struts, latches and the galley hatch arms with a dry PTFE or silicone spray — avoid heavy oils that attract grit.
- Refresh exterior silicone/sealant around fans, hatches, lights and any roof penetrations every 2–3 years before it perishes.
- Check the galley bench, slide-out kitchen runners and 12V fridge mount for play after corrugated roads.
This is where teardrops crush canvas campers on maintenance: there’s simply far less to fail.
Storage: how to lay up a teardrop between trips
How you store the camper determines how much maintenance it needs.
- Undercover is best. A carport, shed or garage shields it from UV and rain. If you store outside, invest in a breathable weatherproof cover (non-breathable covers trap condensation and cause their own damage).
- Store with the water tank empty and lines drained.
- Set the battery per the table above (AGM on a trickle charger; lithium at ~half charge).
- Leave a roof vent slightly open or use a moisture absorber so the interior doesn’t sweat.
- Move it or jack it occasionally so tyres don’t develop flat spots; chock the wheels and take weight off the suspension for very long lay-ups.
- Block off any gaps so mice and insects can’t nest — a real problem in rural Australia.
Good storage habits also keep your premiums down; many insurers offer discounts for undercover or lay-up storage, as we cover in the teardrop camper insurance guide.
Registration, safety and roadworthy checks in Australia
Maintenance and registration overlap. A camper that’s mechanically neglected can fail an inspection — and void insurance after an incident.
- Registration is required for any camper trailer used on public roads; trailers over 750 kg GTM need brakes, and the rules and inspection requirements vary by state (NSW, QLD, VIC, etc.). Check your transport authority — for example, NSW trailer registration sets the local requirements.
- Keep lights, reflectors, number-plate light and indicators working — a pre-trip check that’s also a legal requirement.
- Confirm safety chains, the coupling and the breakaway system are sound before each trip.
- Carry the compliance/VIN plate details and your service history; both help at resale and with insurance claims.
Maintenance cost: DIY vs professional service
Most teardrop maintenance is genuinely DIY-friendly. Here’s a realistic 2026 cost picture for an Australian owner.
| Task | DIY cost | Professional service |
|---|---|---|
| Pre-trip checks (tyres, lights, coupling) | Free | — |
| Exterior wash & polish (2×/yr) | ~$30 materials | $120–$250 detail |
| Wheel bearing repack (per axle) | ~$30 grease + seals | $150–$300 |
| Brake inspection & adjust | DIY if confident | $120–$250 |
| Water tank sanitise | ~$5 bleach | — |
| Annual corrosion treatment | ~$40 lanolin spray | included in service |
| Annual total (DIY, inland) | ~$100–$150 | ~$400–$700 serviced |
The takeaway: a teardrop costs around $100–$150 a year to maintain yourself, or a few hundred if you have a trailer specialist do the running gear. Either way it’s a fraction of a caravan’s service bill — and far less than the canvas replacement and re-proofing a soft-floor camper needs over the same period.
Frequently asked questions
How often should I service a teardrop camper in Australia?
Do pre-trip checks before every outing, a light inspection every 3 months, and a proper service every 6–12 months — repacking wheel bearings, adjusting brakes, sanitising the water tank and checking seals. Coastal and off-road owners should halve the bearing and corrosion intervals to every 6 months.
How long does a teardrop camper last?
A well-built teardrop with a galvanised chassis and a hard shell lasts 15–20+ years with routine maintenance. The body and structure typically outlast the running gear, tyres and battery, which are all replaceable wear items.
Do I need to re-seal a hard-shell teardrop like a canvas camper?
No. A hard-shell teardrop has no canvas to re-proof — that’s one of its biggest maintenance advantages. You only need to inspect and occasionally refresh the silicone sealant around hatches, fans and roof fittings every 2–3 years, plus keep rubber door seals conditioned.
How do I stop my teardrop battery going flat in storage?
Keep an AGM battery on a trickle/maintenance charger whenever the camper isn’t in use, and never let it sit below 50%. A lithium battery is fine left disconnected — store it around half charge in a cool, dry place; its BMS does the rest.
What’s the most important maintenance for coastal owners?
Corrosion control. Rinse the underbody and chassis with fresh water after every coastal trip, repack wheel bearings every 6 months with saltwater-resistant grease, and spray a lanolin-based protectant on bolts, the coupling and electrical terminals once a year.
Can I do teardrop camper maintenance myself?
Yes — washing, sanitising the tank, pre-trip checks, sealant inspection and corrosion treatment are all easy DIY jobs. Wheel bearings and brakes are DIY if you’re mechanically confident, otherwise a trailer specialist will do them for $150–$300 per axle. Budget around $100–$150/year doing it yourself.
The bottom line
Teardrop campers are the lowest-maintenance recreational vehicle you can own in Australia — no canvas, no slide-outs, no complex plumbing on most models. Spend two hours a year on the schedule above and your camper will stay safe, dry and on the road for two decades.
The two things that matter most: keep the running gear serviced (bearings, tyres, brakes) so you’re safe at highway speed, and fight corrosion if you camp anywhere near the coast. A quality build makes both easier — a galvanised chassis and a sealed hard shell are doing maintenance work for you every day.
If you’re still choosing a camper and want one engineered to survive Australian conditions with minimal upkeep, compare the Breath Trailer range or book a viewing to see the build quality up close.
Recommended reading
- Teardrop Camper Weight Australia: 2026 Complete Guide
- Off-Grid Teardrop Camper Australia: Power, Solar & Battery Guide
- Teardrop Camper Accessories Australia: The Complete Setup Guide
- Teardrop Camper Insurance Australia: Costs & Cover Explained
- Teardrop Camper vs Camper Trailer: Australian Comparison