Camper Trailer Lighting: The 2026 Australian Guide
LED types, power draw, and why warm light keeps insects away. What to fit where, and what it costs to run all night.
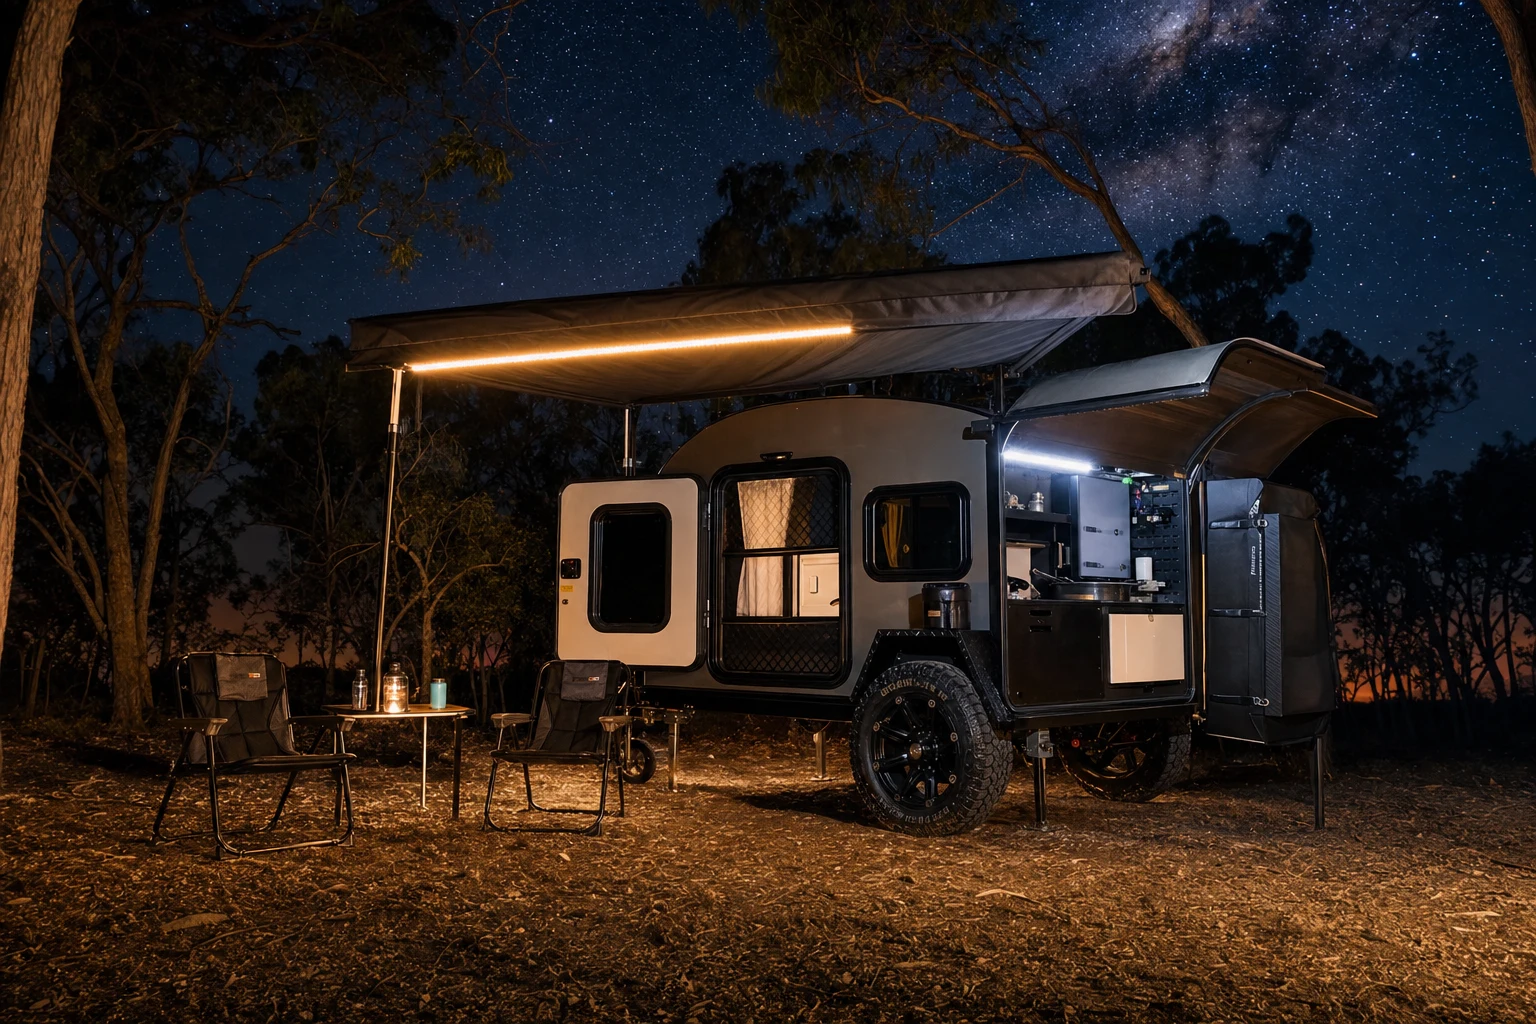
Walk through any free camp in Australia after dark and you will see the same two mistakes repeated down the whole row. Half the sites are lit by a single blue-white floodlight aimed straight out into the bush, blinding everyone downwind and drawing every moth within three hundred metres. The other half are lit by a phone torch propped against a water bottle while someone tries to find a fork.
Lighting is the cheapest system on a camper trailer and the one that changes the experience the most. A full campsite lighting setup costs less than one tank of diesel. It draws less power in an entire evening than your fridge uses in ninety minutes. And unlike a battery upgrade or a suspension rebuild, you can get it wrong cheaply and fix it in an afternoon.
This guide covers the whole picture: the four numbers that actually matter when you buy a light, why amber beats white for cooking, what your lights really cost in amp-hours, the ADR rules that make your trailer road-legal, the AS/NZS 3001.2 wiring standard that almost nobody mentions, and what a sensible upgrade path costs in 2026. Prices are Australian, current at the time of writing, and we have included competitor brands because pretending they do not exist helps nobody.
Why Lighting Is the Highest-Return Upgrade on a Camper Trailer
Every other comfort upgrade on a camper trailer costs real money. A lithium battery swap runs $650 to $1,300. A hot water system is $499 to $2,600 installed. Air conditioning is $1,500 to $4,000 with the battery capacity to run it.
A complete, well-designed lighting setup — interior task lighting, an amber and white awning bar, a couple of portable lanterns and a red head torch — costs $200 to $450. It draws two to three amps at full tilt, which is roughly 10 to 15 amp-hours across a whole evening. On a 120 Ah lithium battery that is under 15% of usable capacity, and your solar puts it back before 9am.
What you get for that money is the thing people actually remember about a trip: being able to cook a proper meal after dark, find your gear without unpacking three drawers, and sit outside without a cloud of insects. It is also a safety system. Most camp injuries happen between the fire and the trailer, in the dark, on uneven ground.
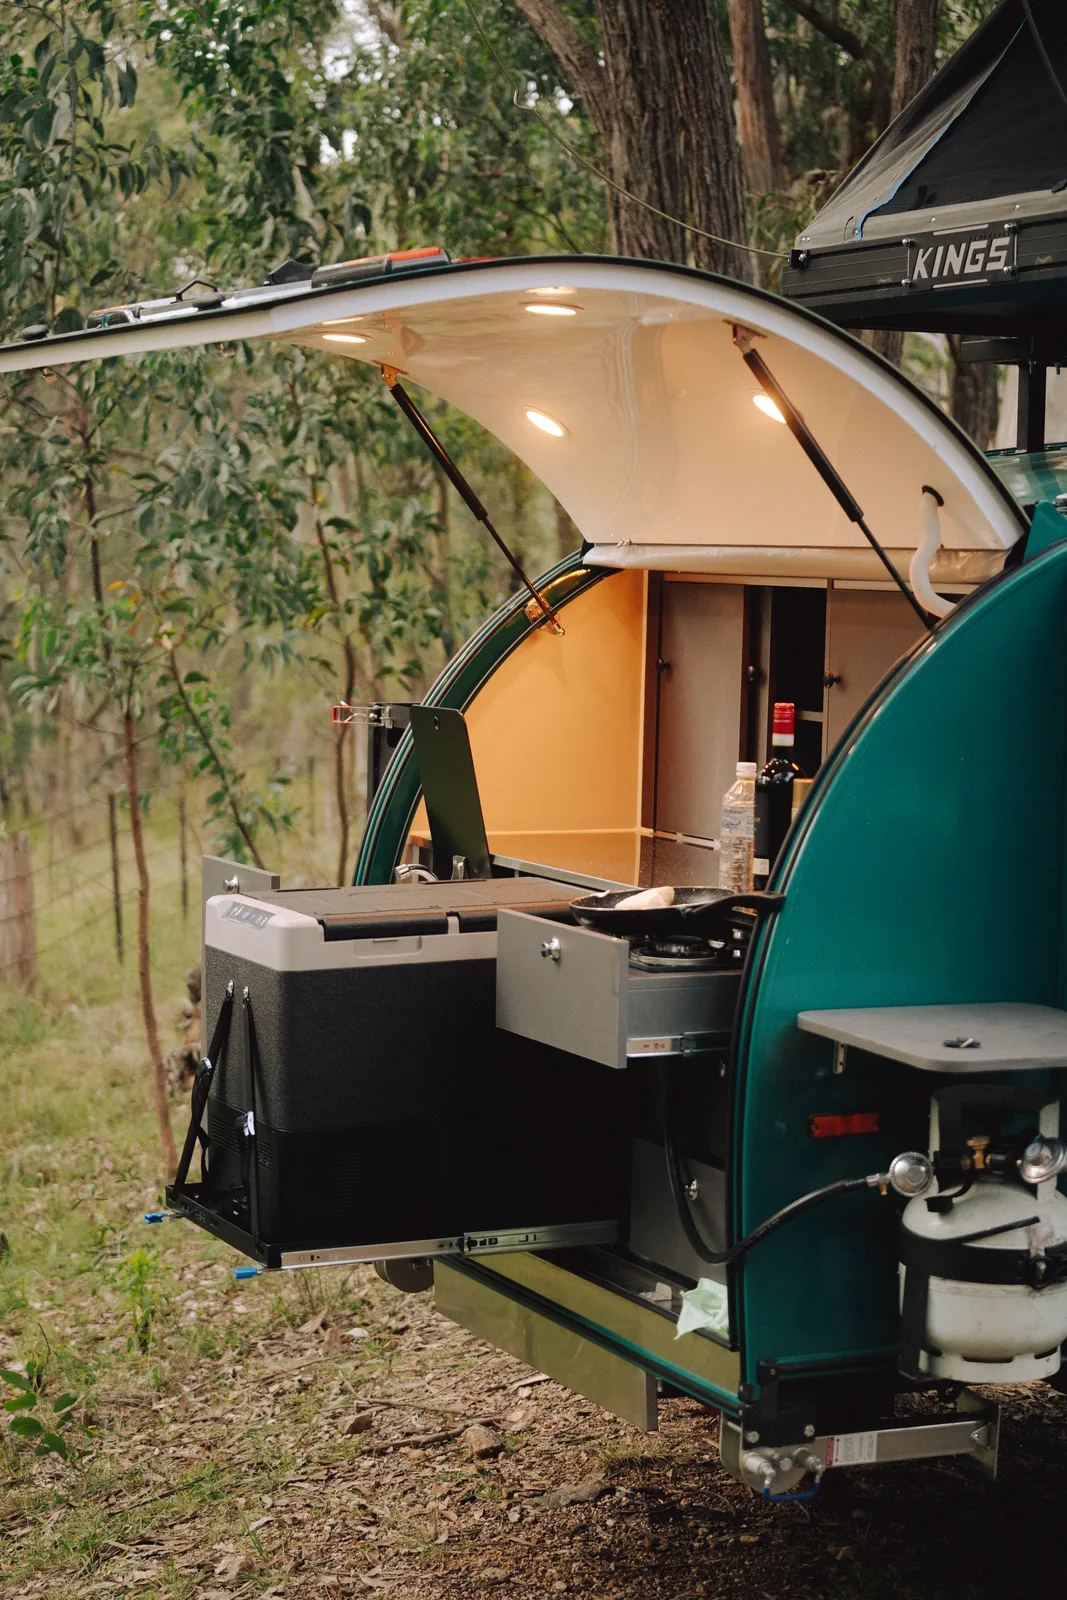
Light under the galley hatch is what makes cooking a proper meal after dark practical.
The problem is that lighting is sold on one number — lumens — and lumens are the least useful of the four numbers that matter.
The Four Numbers That Actually Matter
Lumens: brightness, but only in context
Lumens measure total light output. More is not better; more in the wrong place is worse. Australian camping retailers converge on a sensible zone-based recommendation, and it is much lower than what most people buy.
| Zone | Recommended output | What it looks like | Typical fitting |
|---|---|---|---|
| Inside a swag, tent or sleeping area | 50–200 lm | Enough to read, not enough to wake a partner | Small lantern, dimmable strip |
| Interior of a teardrop cabin | 150–400 lm | Comfortable ambient light in a small volume | 2× hard-wired LED spots or a strip |
| Camp kitchen / cooking area | 200–500 lm | Task light on the bench, no glare | Single 12V bar or under-hatch strip |
| Awning / group living area | 500–1,600 lm | The whole living space usable | 2–4 bar kit or 3-strip awning kit |
| Whole campsite total | 800–1,500 lm | Bright enough, dark enough to see stars | Sum of the above |
A single 2,360-lumen four-bar kit run at full brightness is already above the recommended total for an entire campsite. This is why dimmers matter more than raw output: you buy the capacity and then run it at 40%.
Colour temperature (Kelvin): the difference between “camp” and “car park”
Colour temperature does not change brightness. A 2,700K lamp and a 5,000K lamp can both put out 800 lumens and feel like completely different products.
| Colour temp | Appearance | Best use in camp | Avoid for |
|---|---|---|---|
| 2,200–2,700K (amber / very warm) | Deep yellow-orange | Ambient awning light, insect reduction, preserving night vision | Detailed tasks, cooking prep |
| 3,000K (warm white) | Soft, slightly yellow | Interior cabin, dining table, general living | Nothing much — the best all-rounder |
| 4,000K (neutral white) | Clean, neutral | Camp kitchen bench, reading maps | Relaxed evenings, it feels clinical |
| 5,000–6,500K (cool white / daylight) | Bright, blue-tinged | Repairs, changing a tyre, finding a dropped bolt | Everything else — harsh and bug-magnetic |
For an Australian camper trailer, the honest answer is: 3,000K warm white for interior, amber for ambient exterior, and one cool-white source you can switch on for repairs. Most quality dual-colour kits give you exactly that in a single fitting.
IP rating: the number that decides whether it survives
The IP (Ingress Protection) rating tells you how sealed a fitting is against dust and water. Australian conditions punish this harder than most — bulldust gets everywhere, and coastal salt air corrodes exposed copper contacts.
| IP rating | Protection | Suitable for |
|---|---|---|
| IP44 | Splash-resistant only | Inside the cabin, under a sealed hatch |
| IP65 | Dust-tight, resists water jets | Awning lights, most external camp use |
| IP67 | Dust-tight, immersion to 1 m for 30 min | Permanently mounted external lights, wheel-arch strips |
| IP68 | Dust-tight, prolonged submersion | Lights that live outside permanently, river crossings |
One trap worth knowing: many kits rate the light bars at IP67 or IP68 but the dimmer switch at nothing at all. That is standard across the category. Keep the dimmer inside the cabin or under a hatch.
Power draw: the number that decides your evening
Draw is measured in amps. A quality four-bar LED kit pulls about 2.4 A total at full brightness. Individual strip lights draw as little as 0.6 A per bar. A single interior LED spot is typically 0.1 to 0.3 A.
The maths that matters is amp-hours, and we cover it properly below — but the short version is that LED lighting is the one 12V load you genuinely do not need to ration.
Amber vs White: The Bug Question, With Real Numbers
This is the single biggest quality-of-life decision in camp lighting, and it is not marketing.
Most flying insects see strongly into the blue and ultraviolet end of the spectrum. Standard cool-white LEDs emit a large blue spike, which is precisely the wavelength moths, midges and flying beetles navigate by. True amber LEDs emit a narrow band around 590–600 nm, which most insects simply cannot see well. Research summarised by the Smithsonian found amber-filtered bulbs cut insect visits by 60% or more compared with standard white light.
| Light colour | Insect attraction | Night vision | Best for |
|---|---|---|---|
| Cool white (5,000K+) | Very high | Destroyed for 20+ min | Repairs only |
| Warm white (3,000K) | Moderate | Partially preserved | Interior, dining |
| True amber (590–600 nm) | Very low (–60% or more) | Largely preserved | Awning, ambient, cooking |
| Red (620–660 nm) | Lowest | Fully preserved | Head torch, walking to the toilet, astrophotography |
The practical technique experienced Australian campers use is the decoy light: run amber over your living and cooking area, then place one cheap white light 15 to 20 metres away, pointed upward. The insects go to the brighter, bluer source within about a minute and stay there. It works remarkably well in the Top End and anywhere near water in summer.
For a hard-shell camper this matters even more than for a canvas setup. A teardrop with sealed doors and screens keeps insects out of your bed — but you still have to cook, eat and sit outside, and that is where amber earns its keep.
Interior Lighting: Why a Teardrop Needs Less Than You Think
A conventional caravan interior is 12 to 20 cubic metres of space. A hard-shell teardrop cabin is roughly 4 to 6. That difference changes the lighting brief completely.
In a small, light-coloured cabin, 150 to 400 lumens is genuinely enough for comfortable ambient light — a fraction of what a caravan needs. Two well-placed warm-white spots beat one bright central fitting, because the enemy in a small space is glare from a source in your peripheral vision when you are lying down.
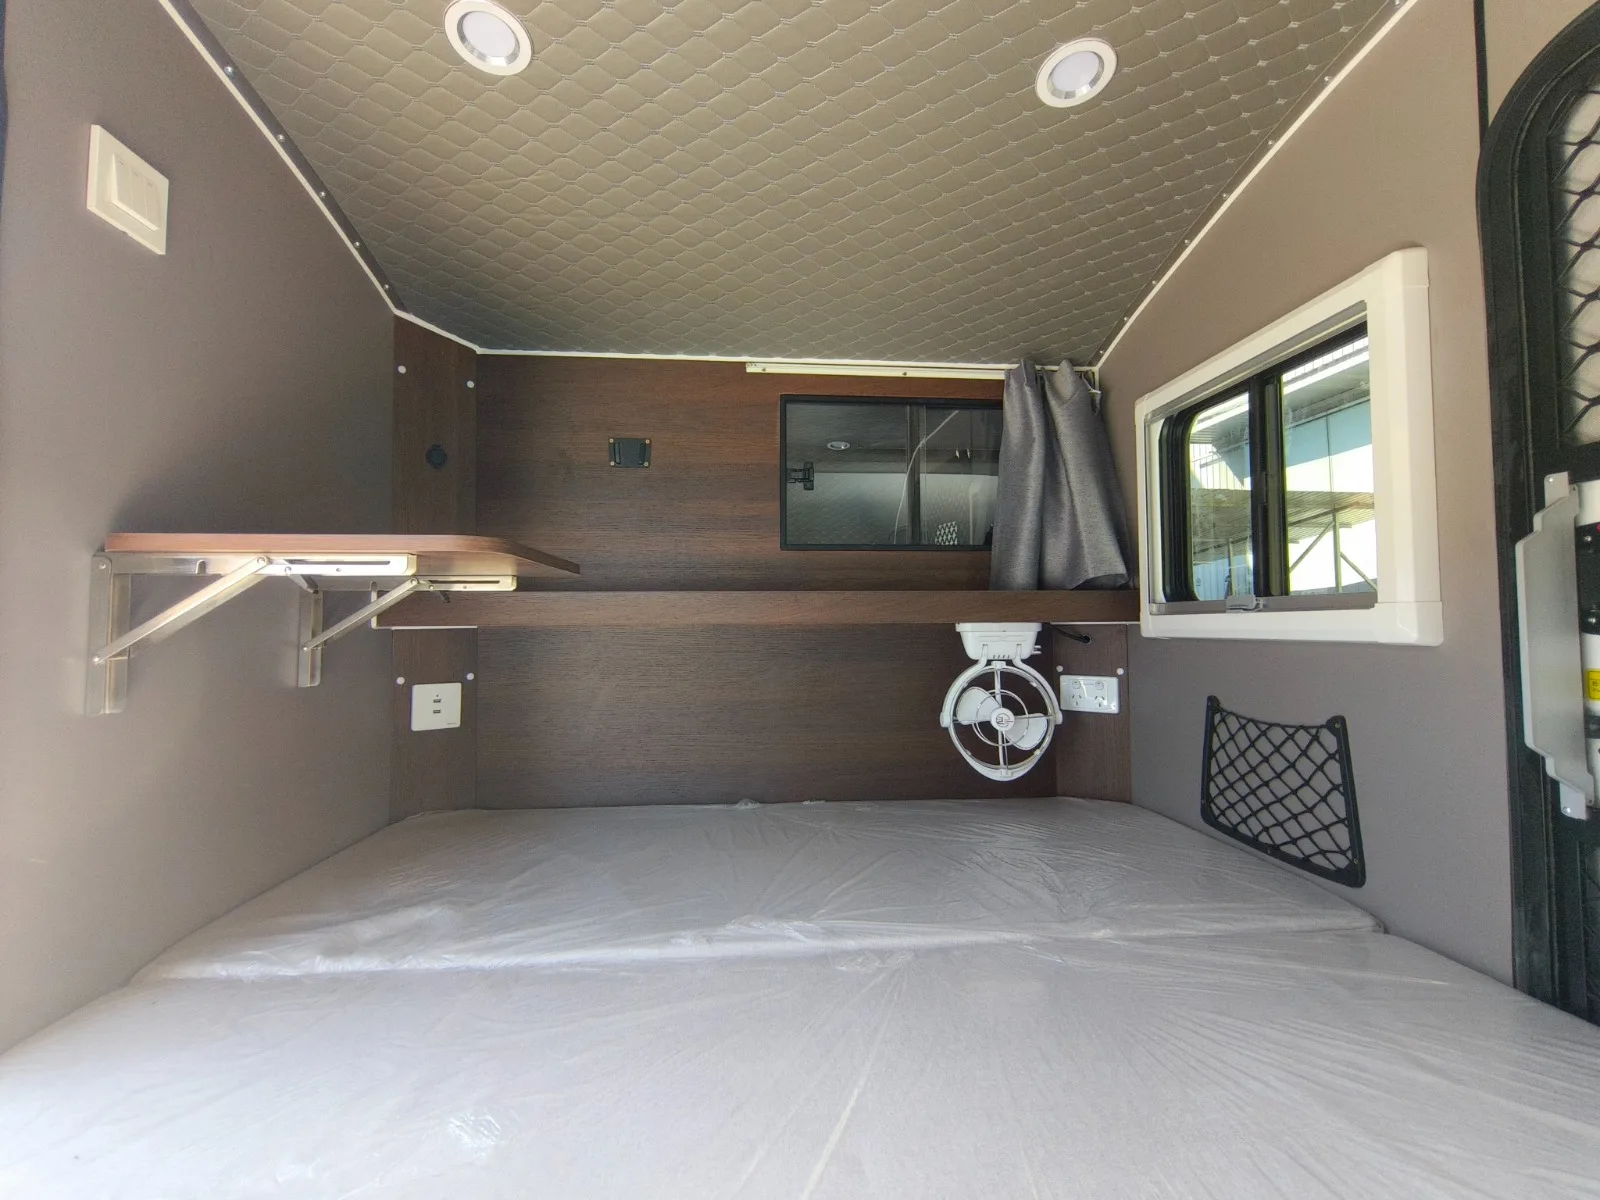
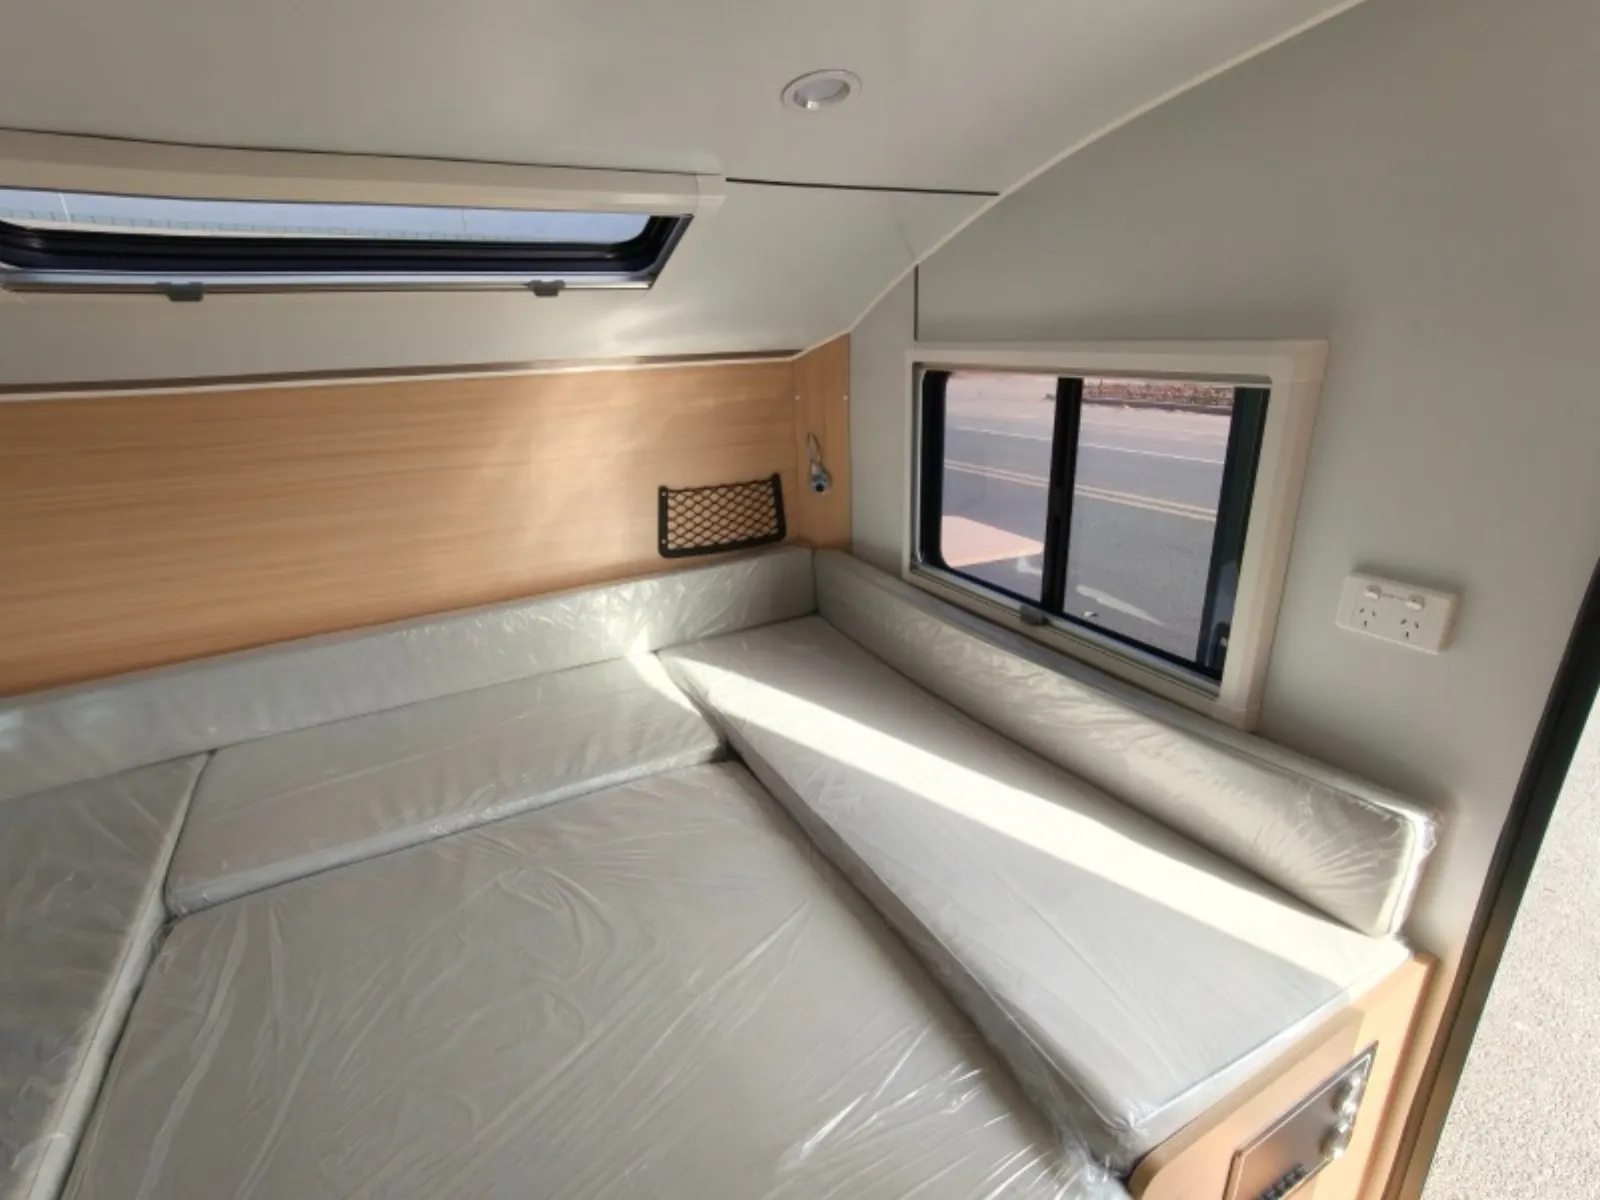
In a cabin this size, a pair of downlights covers the whole space.
Three rules for teardrop interior lighting:
- Mount low or diffuse. A bare LED at head height in a 1.2 m-wide cabin is unpleasant. Strips behind a lip, or spots angled at the ceiling, spread light without a hot spot.
- Two switched circuits minimum. One for general light, one for a dim reading light on each side. Waking your partner because you needed to find your book is the most common complaint in any small camper.
- Warm white, always. 3,000K in a small cabin reads as cosy. 5,000K in a small cabin reads as a hospital corridor.
All four Breath Trailer models ship with hard-wired 12V internal and external LED lighting as standard, wired into the trailer’s own battery and solar system rather than relying on stick-on battery units. The Ultra adds colour-changing LED kitchen lighting in the rear galley.
Awning and External Lighting
External lighting is where most of your usable evening happens. The three-layer approach works better than any single fitting:
Layer 1 — the awning rail. A dual-colour LED strip or 2-to-4 bar kit mounted along the awning arm, aimed slightly downward. This is your ambient layer. Run it in amber at 30–50% for most of the evening. Hard Korr’s 4-bar orange/white kit is the benchmark here at around $229 (2-bar $139, 6-bar $279), using OSRAM SMD5050 LEDs, 2,360 lumens white / 1,400 lumens amber, 2.4 A draw, 50,000-hour rated life and a five-year warranty. RV Daily’s tested review rates the diffusers highly for exactly the reason above — no glare when you look straight at them.
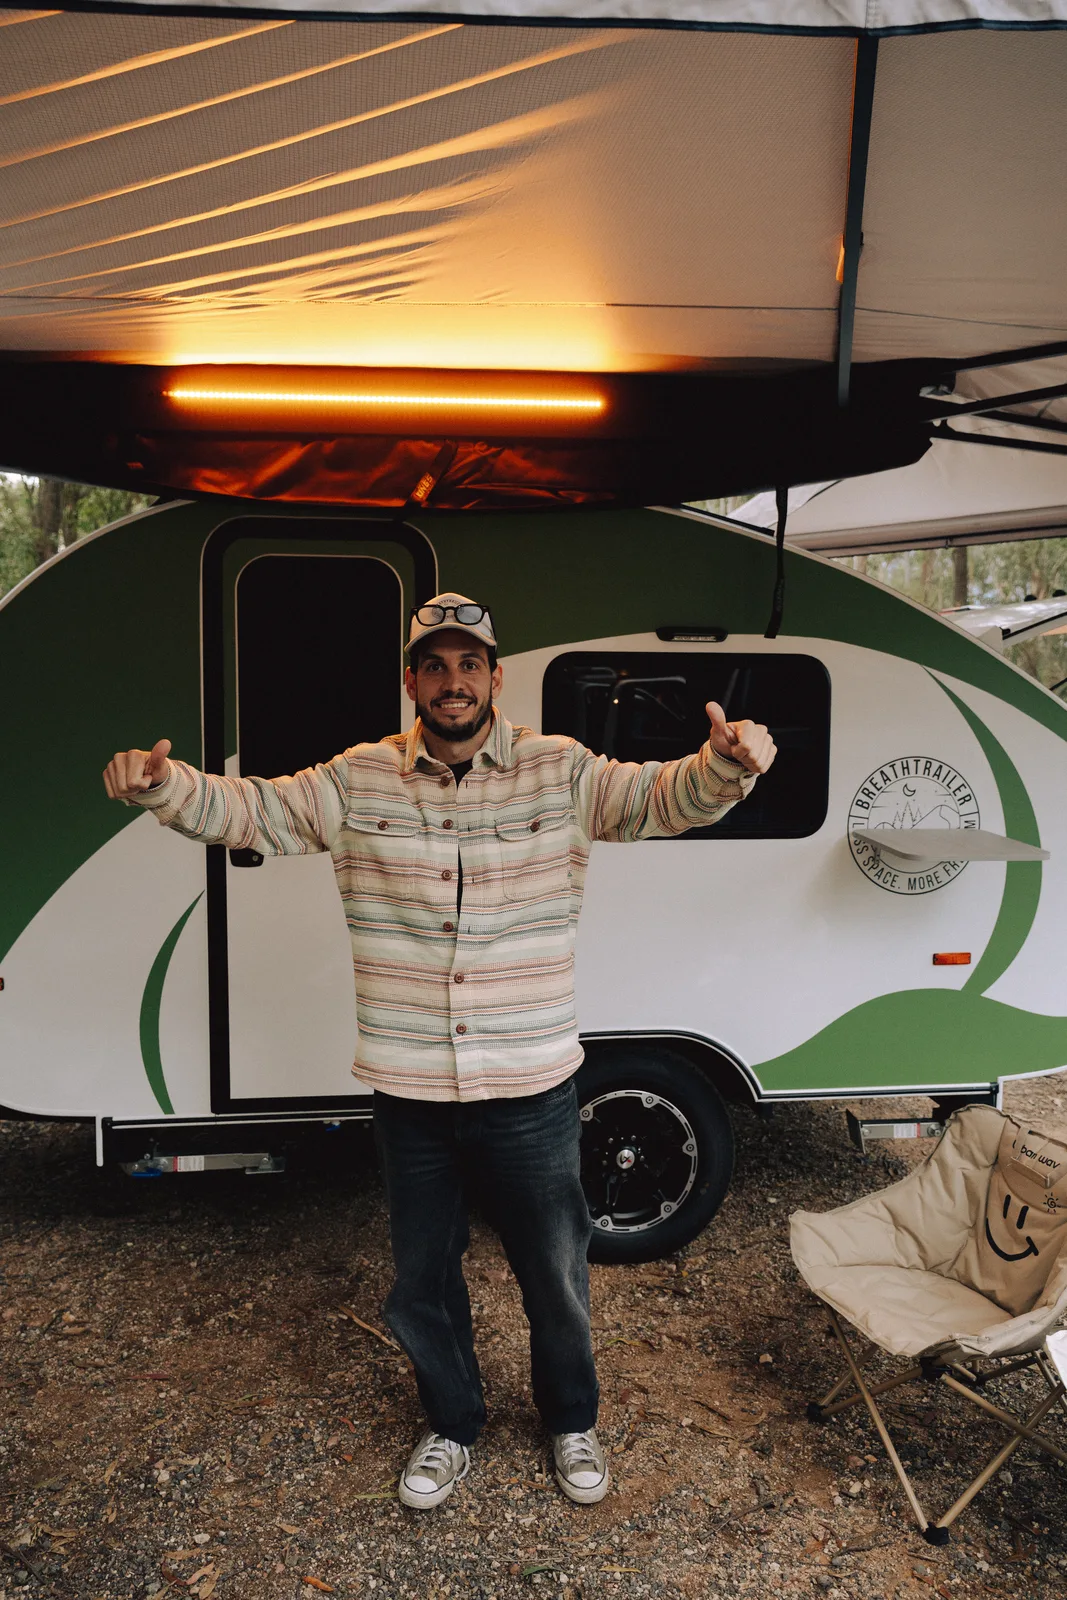
An amber strip along the awning is the ambient layer most of the evening happens under.
Layer 2 — the galley. A dedicated task light over the rear kitchen hatch, 200 to 500 lumens, neutral or warm white, on its own switch. Cooking under an amber ambient light alone makes it hard to tell whether the chicken is done.
Layer 3 — portable. Two rechargeable lanterns (roughly 150 lumens each) and a red-mode head torch per person. These are what you actually take to the toilet block, into the tent, or over to a neighbour’s fire.
| Setup | Typical cost (AUD, 2026) | Total output | Draw at full |
|---|---|---|---|
| Minimal: 2-bar dual-colour kit + 2 lanterns | $180–$230 | ~1,500 lm | ~1.4 A |
| Standard: 4-bar kit + galley strip + 2 lanterns + head torches | $300–$420 | ~3,000 lm | ~3.0 A |
| Full: 3-strip awning kit + hard-wired galley + wheel-arch strips + lanterns | $450–$700 | ~4,500 lm | ~4.5 A |
Note the diminishing returns. The “full” setup is not three times better than “minimal” — it is more convenient and more configurable. If you camp fewer than twenty nights a year, the minimal setup is genuinely fine.
What Lighting Actually Costs Your Battery
Here is the calculation nobody does, and the reason it matters is that most people over-estimate lighting draw and under-estimate their fridge.
The formula is simple: amps × hours = amp-hours.
| Fitting | Draw | Typical run time | Amp-hours per night |
|---|---|---|---|
| 2× interior LED spots (warm white) | 0.4 A | 4 h | 1.6 Ah |
| Reading light (dimmed) | 0.15 A | 1 h | 0.15 Ah |
| 4-bar awning kit at 50% | ~1.2 A | 4 h | 4.8 Ah |
| Galley task strip | 0.6 A | 1.5 h | 0.9 Ah |
| Rechargeable lanterns (own battery) | 0 A | — | 0 Ah |
| Total lighting | — | — | ~7.5 Ah |
| For comparison: 60L 12V fridge, 30°C ambient | ~2.5 A avg cycling | 24 h | 45–60 Ah |
Lighting is roughly 12 to 15% of a typical camper’s daily 12V consumption. Your fridge is the load that decides how long you can stay out, not your lights.
Two practical consequences. First, do not buy a smaller light kit to save power — buy the kit you want and run it dimmed. Second, if your lights dim noticeably when the water pump runs, that is not a lighting problem, it is a voltage drop problem in your wiring, and it needs fixing at the cable, not the fitting.
Road-Legal Lighting: ADR and VSB1
Everything above is comfort. This section is law. A camper trailer registered in Australia must carry a specific set of lamps and reflectors, defined by the Australian Design Rules and summarised in Vehicle Standards Bulletin 1 (Revision 6) for trailers up to 4.5 tonnes ATM.
| Lamp / device | Colour | Requirement | Relevant ADR |
|---|---|---|---|
| Tail lamps | Red | Pair, rear | ADR 49/00 |
| Stop lamps | Red | Pair, rear | ADR 49/00 |
| Direction indicators | Amber | Pair, rear | ADR 6/00 |
| Rear retro-reflectors | Red, non-triangular | Within 400 mm of outer edge | ADR 47/00 |
| Number plate lamp | White | Plate legible from 20 m | ADR 49/00 |
| Reversing lamp | White | Optional on most light trailers | ADR 1/00 |
A few things that catch people out:
- Retro-reflectors are not optional. They are what makes your trailer visible when your lights fail or your plug disconnects. They must be red and non-triangular (triangular reflectors are reserved for heavier trailers in some jurisdictions).
- The number plate lamp is the most commonly failed item at inspection. It is a $12 part that will stop your rego.
- Auxiliary camp lighting is not covered by ADRs, but it must not be visible to the rear as a white light while driving. A white LED strip on the back of your trailer, switched on, is an offence in every state.
- Aftermarket lighting must not obscure or duplicate required lamps. Adding a light bar across the rear that washes out your indicators defeats the purpose of having them.
If any of this is unfamiliar, our guides to camper trailer towing and electric brakes cover the rest of the compliance picture.
The Standard Nobody Mentions: AS/NZS 3001.2
Here is the gap in almost every camp lighting article online. Comfort lighting on a modern RV is not just a consumer choice — it sits inside a regulated electrical installation.
AS/NZS 3001.2:2022 — Electrical installations: connectable electrical installations and supply arrangements — is the current standard for electrical systems in caravans, motorhomes and camper trailers. Published 18 November 2022, it took full effect after a twelve-month transition on 18 November 2023, and it governs wiring, fusing, batteries, solar and inverters in RVs. REDARC and BMPRO both publish plain-English summaries.
What it means for lighting specifically:
- Every 12V lighting circuit must be individually protected by an appropriately rated fuse or circuit breaker. Daisy-chaining a strip off the fridge circuit is not compliant.
- Cable must be sized for the load and the run length. Undersized cable is the root cause of dimming, flickering and heat.
- Joins in external circuits must be properly sealed. Salt air and bulldust will find an unsealed crimp within one season.
- Non-compliant work can affect your insurance. If an electrical fault causes a fire and the installation does not meet the standard, an insurer has grounds to decline.
This is why we hard-wire lighting into the trailer’s electrical system at the factory rather than shipping it with stick-on units — the whole 12V installation is designed and tested as one system. We wrote about why professional installation matters in more detail, and how we test every trailer before delivery covers the electrical checks we run before a trailer leaves Sydney.
Dark-Sky Camping and Campsite Etiquette
Australia has some of the darkest accessible night skies on earth, including six officially recognised Dark Sky sites across South Australia, Queensland and New South Wales. Warrumbungle National Park near Coonabarabran was Australia’s first International Dark Sky Park.
There is a self-interested case here as well as a courteous one: if you drive four hundred kilometres to camp under the Milky Way and then light your site like a service station forecourt, you cannot see it.
The etiquette is simple and widely agreed:
- Point lights down, not out. Downward-angled or shielded fittings light your site without spilling into your neighbour’s.
- Keep the light close to the rig. Your lighting should define your space, not project across the clearing.
- Use red for movement. A red head torch preserves your night vision and everyone else’s. Full dark adaptation takes 20 to 30 minutes and one white torch beam undoes it instantly.
- Amber for ambient, dimmed. You will be surprised how little light you actually need once your eyes adjust.
- Everything off before bed. No exterior light should be burning overnight in a shared camp.
- Respect wildlife. Artificial light disrupts nocturnal animals, nesting birds and insects. Parks Victoria and several NSW parks now recommend specific red-light protocols in sensitive areas — and on turtle-nesting beaches in Queensland and WA, white light is restricted outright during nesting season.
This matters more each year as free camps get busier. If you are heading to the best teardrop destinations by state, a lot of the best sites are the dark ones.
What Breath Trailer Fits as Standard
All four models are wired as one 12V system with an installed solar panel, USB ports and a 12V outlet, with lighting on hard-wired circuits rather than aftermarket stick-ons.
| Model | Price (AUD) | Tare | Interior lighting | External lighting | Notable |
|---|---|---|---|---|---|
| Breath Essential | $23,320 | 700 kg | 12V internal LED | 12V external LED | Two lockable, screened side doors |
| Breath Plus | $29,766 | 800 kg | 12V internal LED | 12V external LED | Fridge included on the same 12V system |
| Breath Ultra | $34,749 | 900 kg | 12V hard-wired internal LED | 12V hard-wired external LED | Colour-changing LED galley kitchen lighting |
| Breath Max | $42,900 | 1,200 kg | 12V hard-wired internal LED, 2.1 m standing height | 12V hard-wired external LED | Full interior bathroom; the only teardrop on the Australian market under $50k with one |
The lighting itself is not why anyone buys a teardrop. But it is a fair proxy for how the rest of the electrical system is built: hard-wired, individually fused, tested as a unit. If you want to compare the models side by side, the comparison page lays out the full spec.
A downlight and bedside reading light in the Breath Max cabin, wired into the trailer’s 12V system.
Five Lighting Mistakes to Avoid
| Mistake | Why it hurts | Fix |
|---|---|---|
| Buying on lumens alone | 3,000 lm of cool white is worse than 800 lm of warm, dimmable light | Buy dual-colour with a dimmer, run it low |
| One central fitting | Creates glare and hard shadows; useless for tasks | Three layers: ambient, task, portable |
| Cool white everywhere | Attracts insects, kills night vision, feels clinical | 3,000K interior, amber exterior, one cool-white for repairs |
| Undersized or unsealed cable | Dimming, flickering, corrosion within a season | Size the cable to the run; seal every external join |
| Stick-on battery lights as the primary system | Dead batteries at the worst moment, nothing is fused | Hard-wire the primary circuits, keep portables as backup |
Frequently Asked Questions
How many lumens do I need for camping?
For a whole campsite, 800 to 1,500 lumens total is plenty. Break it into zones: 150–400 lm inside a teardrop cabin, 200–500 lm over the camp kitchen, and 500–1,600 lm across the awning area. Buying more capacity than that is fine — as long as it dims.
Do amber lights really keep bugs away?
Yes, and the mechanism is well understood. True amber LEDs emit around 590–600 nm, a wavelength most flying insects see poorly, whereas cool-white LEDs have a strong blue spike that insects navigate toward. Studies of amber-filtered bulbs show insect visits dropping by 60% or more. It reduces insects dramatically; it does not eliminate them.
How much battery does camp lighting use per night?
Around 5 to 10 amp-hours for a full setup running four to five hours. That is roughly 12–15% of a typical camper’s daily 12V load — your fridge uses four to eight times more. On a 120 Ah lithium battery, lighting alone would run for well over a week.
What lights are legally required on a camper trailer in Australia?
A pair of red tail lamps, a pair of red stop lamps, a pair of amber rear direction indicators, red non-triangular rear retro-reflectors within 400 mm of each outer edge, and a white number plate lamp making the plate legible from 20 metres. These are set by the Australian Design Rules and summarised in VSB1 Revision 6. Camp lighting is separate and must never show white to the rear while driving.
Can I install LED strip lights on my camper trailer myself?
Physically, yes — but 12V electrical work on a registered RV falls under AS/NZS 3001.2:2022, which requires individual circuit protection, correctly sized cable and sealed joins. DIY work that does not meet the standard can affect an insurance claim after an electrical fault. Portable, plug-in lighting is unaffected; anything hard-wired should be done properly.
What IP rating do I need for awning lights?
IP65 is the practical minimum for anything mounted outside — dust-tight and resistant to water jets. Go IP67 or IP68 for lights that live permanently on the trailer, especially in coastal or dusty conditions. Check whether the dimmer switch shares the rating; usually it does not, so keep it somewhere dry.
Should I use red or amber light at camp?
Both, for different jobs. Amber (590–600 nm) is your ambient and cooking light: bright enough to live under, low enough in insect attraction to be pleasant. Red (620–660 nm) is for movement and night vision — head torches, walking to the toilet, stargazing. White is for repairs only.
The Short Version
Lighting is the cheapest thing you can get right on a camper trailer, and one of the easiest to get wrong. In 2026, the practical advice for an Australian owner comes down to five decisions:
- Buy dual-colour with a dimmer. Amber for ambient, warm white for tasks, and the ability to run either at 30%.
- Think in zones, not fittings. Interior, galley, awning, portable. Each on its own switch.
- Aim for 800–1,500 lumens total, not the biggest kit on the shelf.
- Get the compliance right — ADR lamps for the road, AS/NZS 3001.2 for the 12V install. Both are cheap to do properly and expensive to ignore.
- Turn it off before bed. The sky is the reason most of us are out there.
Everything on this list costs less than $450 and draws under 10 amp-hours a night. There is no other upgrade on a camper trailer with that return.
If you want to see how the 12V lighting, solar and battery system is wired as one installation rather than bolted together after the fact, book a viewing — all four models are set up at our Sydney showroom and you are welcome to switch everything on.
Recommended Reading
- The Complete Guide to Camper Trailer Power Systems — how lighting fits into the wider 12V install, including fusing and cable sizing.
- Understanding Camper Trailer Solar Systems — what it takes to put your nightly amp-hours back before lunch.
- Teardrop Camper Accessories — what else is worth fitting, and what is marketing.
- Best Camping Setup for Couples — awning, outdoor kitchen and lighting as one working layout.
- Why Professional Installation Matters — AS/NZS 3001.2 and 240V compliance in plain English.